Deploying 3D Scanners to Automate Gap and Flush Inspections
Introduction
SoftServe recently developed a prototype solution to automate gap and flush inspections for one of the largest car producers in the world. It is fully automated, variably implementable and easily moved, and capable of automatic adaptation to differing vehicle types without slowing down conveyor belt speeds. Using an innovative deployment of structured light-based 3D scanning technology, SoftServe alleviated an assembly process pressure to add value to its final products.
In this blog post, we will present the results of the proof-of-concept (POC) phase for the prototype of our solution and introduce our approach to building custom automation solutions for our clients.
The problem: unreliable manual and contact-less solutions
A gap and flush inspection (G&F) is a mandatory quality assurance operation performed during the final phase of vehicle assembly. It checks that the spacing between the separate components of an automobile’s body is on spec. Traditionally, the inspection is performed by manually operated feeler gauges, which makes it slow and prone to errors. As the G&F affects vehicles’ overall performance, it has a direct influence on their value. As such, inaccurate measurements negatively affect the value output of assembly plants. The need to perform manual G&Fs added unreliability to the production process while simultaneously tying up the client’s workforce with time-intensive, potentially high-risk tasks.
Though G&F methods using contactless technologies are available, they are prohibitively expensive and suffer from technical limitations. Specifically, they fail to satisfy the client’s requirements pertaining to the speed of operations, the accuracy of measurements, and variability of conditions in its plants.
The challenge: achieving frictionless variability
During a jointly conducted discovery process, SoftServe’s R&D and Robotics teams identified the following initial requirements to develop a fully automated, contactless solution that can be deployed across the client’s factories:
- The client represents many separate brands producing distinct models and serving unique consumer profiles. As such, the proposed solution must be implementable across different manufacturing sites; it must be compatible with heterogenous types of IT infrastructure and degrees of technological maturity
- The proposed solution needed to be able to seamlessly recognize and adapt to different body types as the client’s automotive production lines can contain alternating vehicles differing in size, color, and surface geometry
- To support an efficient production line, the automated solution cannot halt or slow down the conveyor belt and must deliver accurate measurements in under 60 seconds


The solution: freestanding mobile 3D scanners
Based on the client’s problem and requirements, we designed and proposed a concept of a fully automated prototype solution that makes G&Fs more rapid and reliable.
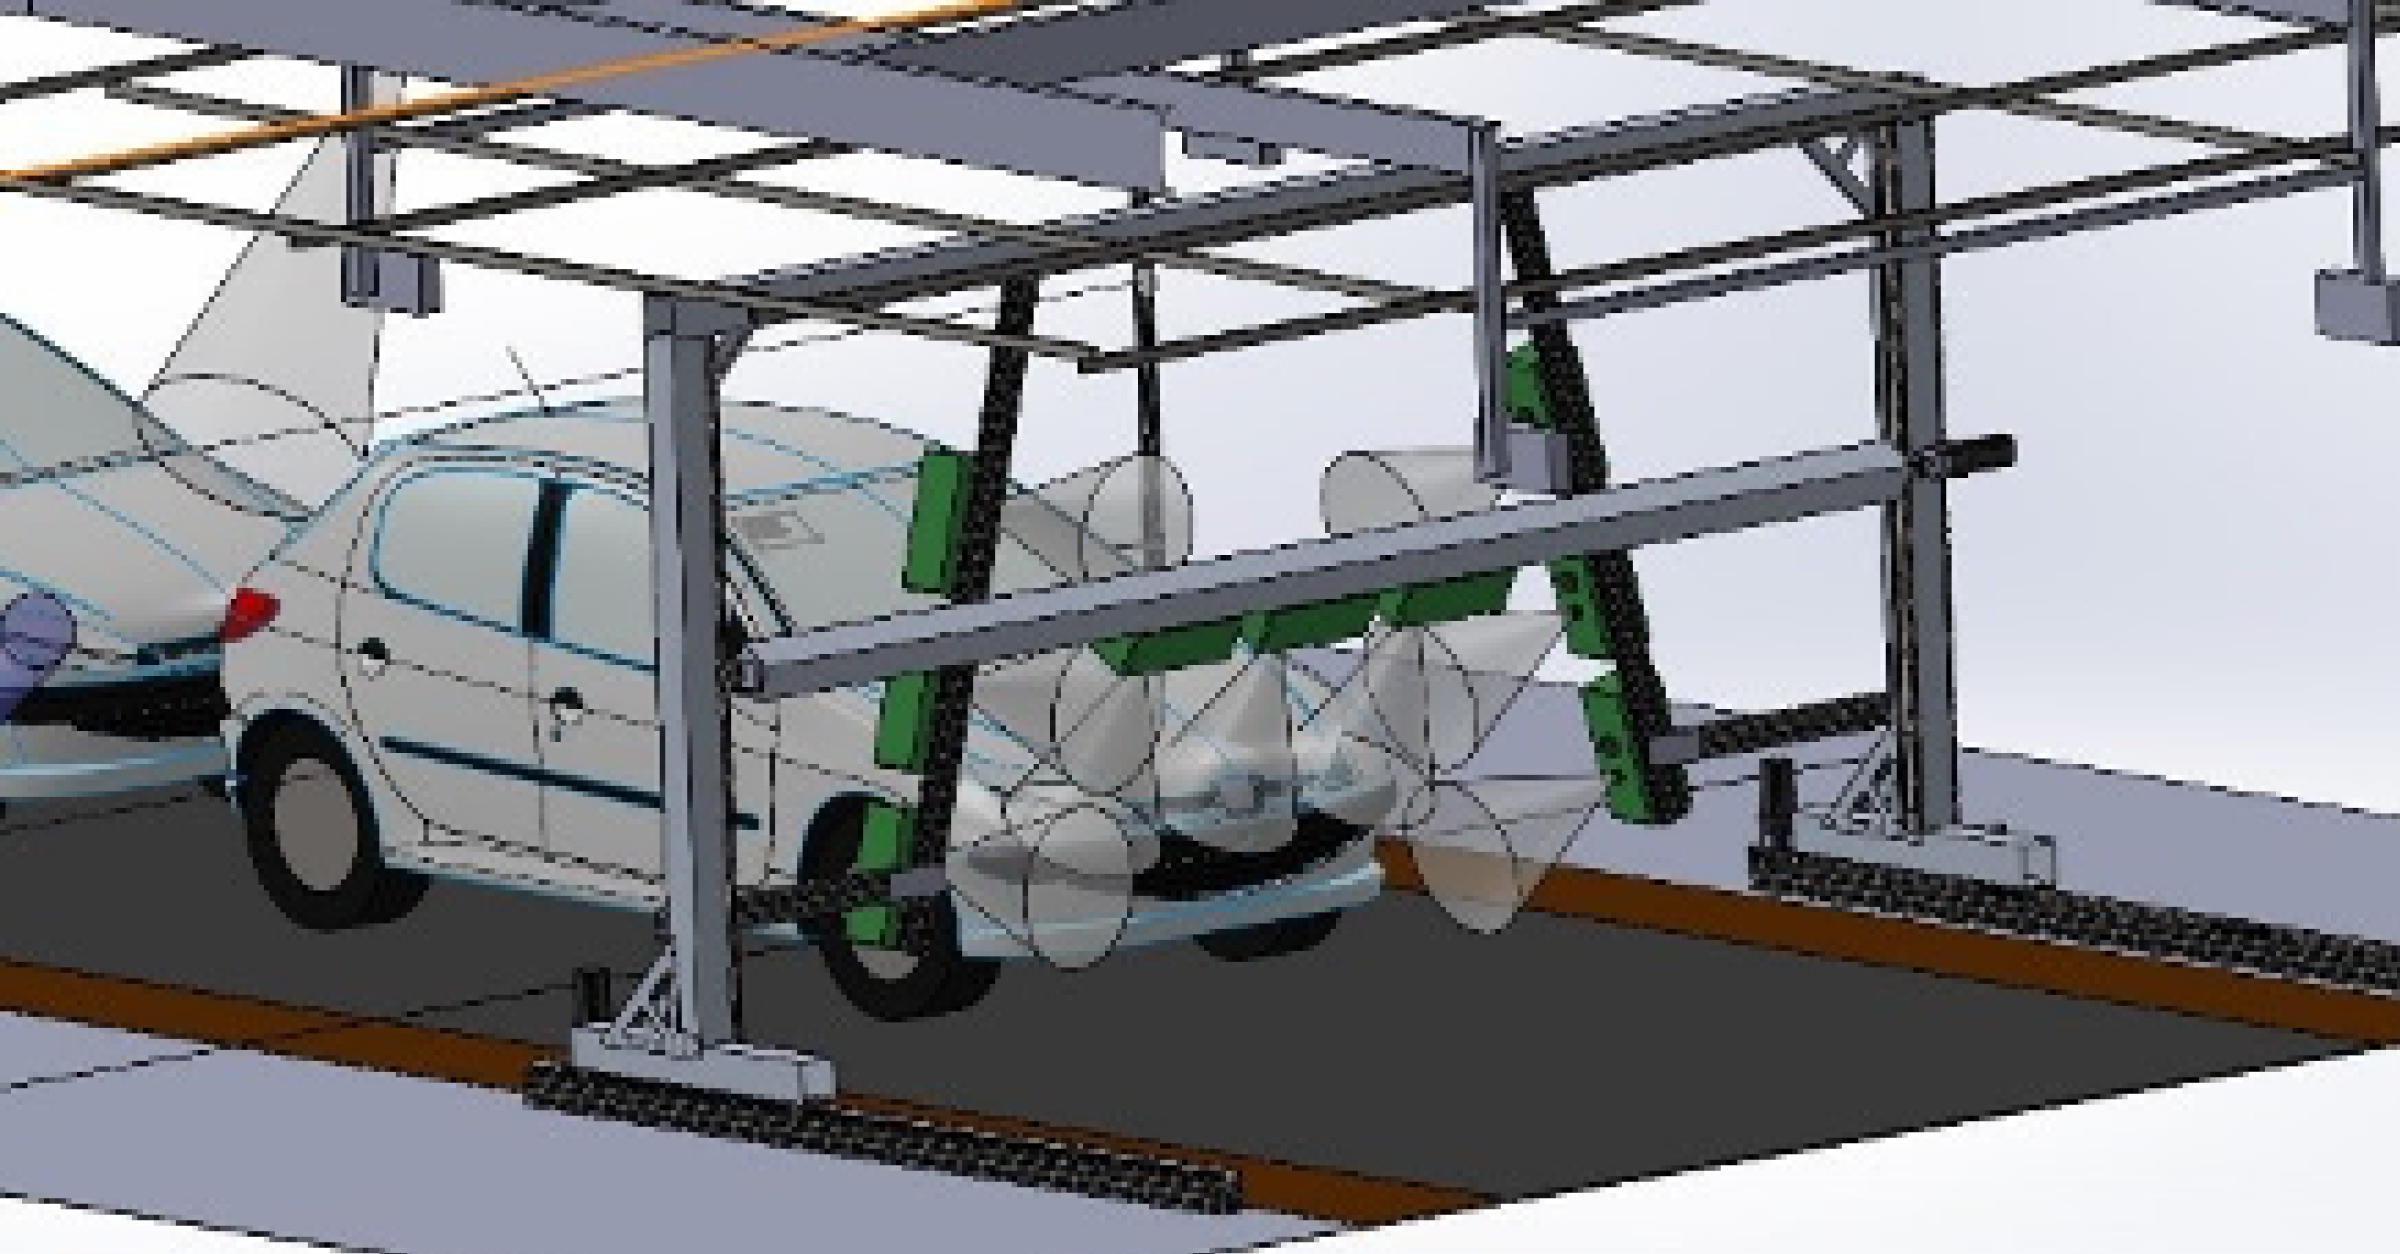
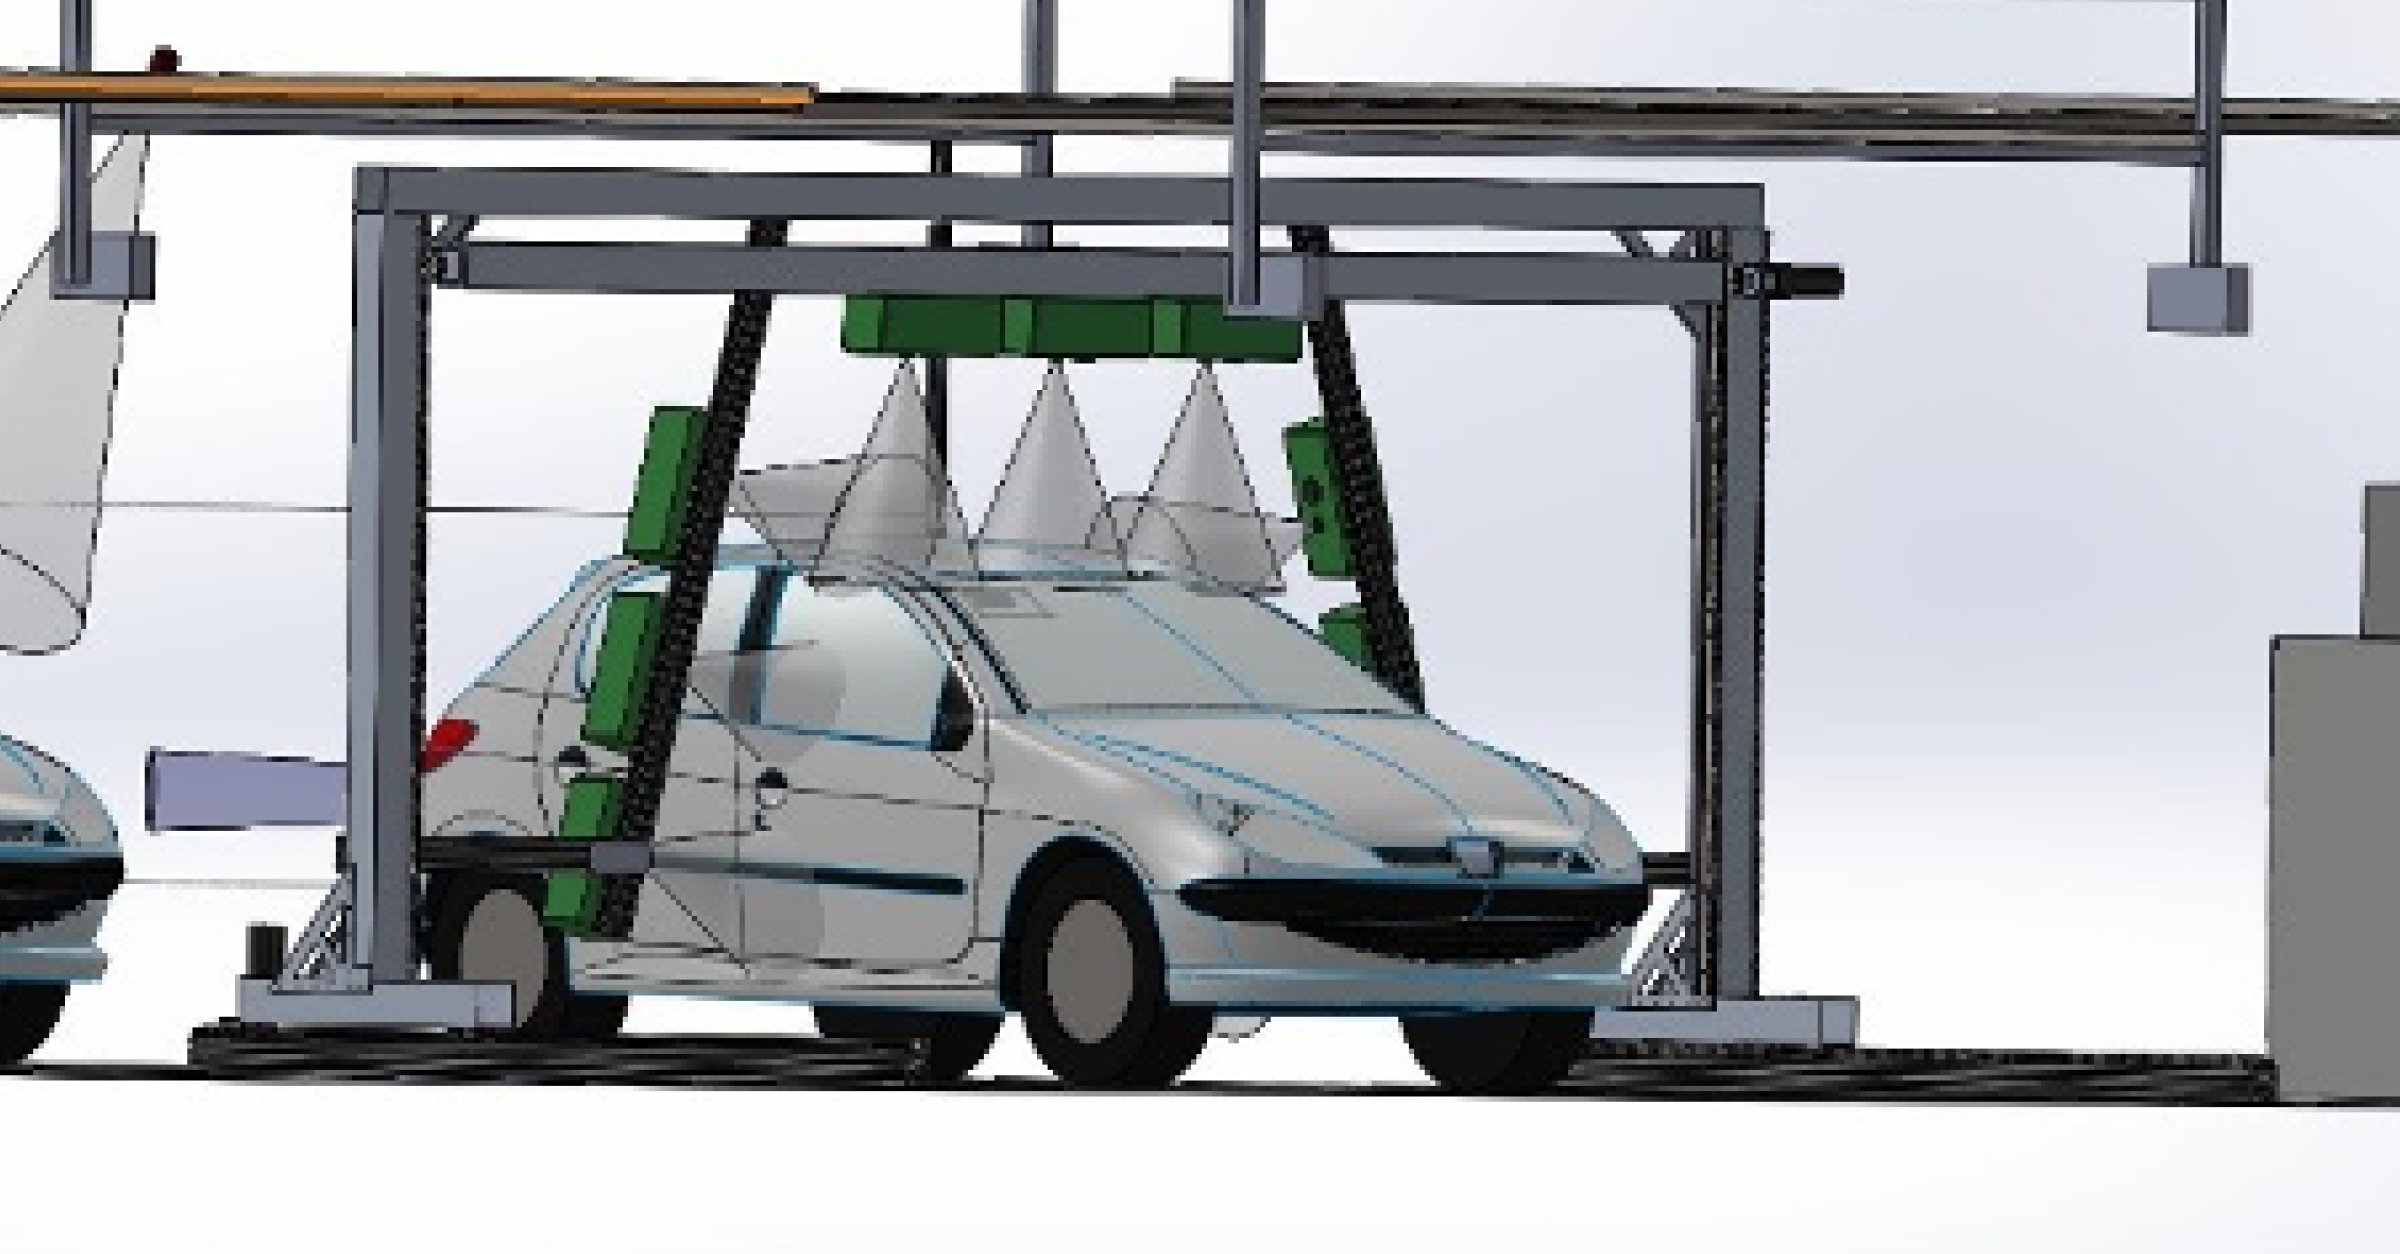
Our solution consists of three main parts: 3D scanners, a mobile robotics rig, and an algorithmic pipeline.
3D scanners
The car inspection is carried out by prebuilt 3D scanners operating based on structured light technology. Each scanner consists of an industrial projector, a camera, and a computational module powered by SoftServe’s software development kit (SDK). Using a projected structured light pattern sequence and a camera system, the scanners generate 3D point clouds on the scanned surface based on 30 inputs that serve as the intake for the algorithmic pipeline.
Robotics rig
SoftServe’s Robotics Team designed a moving robotics rig to operate on the conveyor that sets the system into motion and guarantees measurement of all points of interest. The robotics rig consists of an aluminum frame and rail system powered by industry-standard commercial components.
Algorithmic pipeline
To produce the final measurements, the point clouds generated by 3D scanners are processed by the pipeline of metrological algorithms that calculate the actual G&F values.


Working in tandem, the three components targeted and overcame the challenges faced by the client.
- By shooting a structured light pattern sequence (SLPS) on the vehicles, the 3D scanners can generate a 3D model that is used for subsequent measurements. As such, the solution can take physical measurements without using deep learning techniques
- The combination of SSLPS and 3D scanners is moreover capable of taking measurements with an outstanding accuracy of 0.1 mm, meaning that the solution reduces the potential for financial losses incurred due to imprecise measurements
- Because the system is mounted on its own freestanding mobile robotics rig, it can be deployed in most assembly lines. This makes it flexible enough to conform to the client’s various production contexts
- With predefined hardcoded configurations for each model, the robotics rig is also able to adjust the 3D scanners to accommodate different automobiles, satisfying the need to handle diverse production lines
- By moving in synchronization with the conveyor belt and performing scans under the 60-second maximum time window, the measurement hardware maintains the production velocity and supports a large total throughput
Prototype
Before jumping into building the full-scale solution, SoftServe conducted a POC analysis to build a small-scale prototype and check the feasibility of the proposed concept:
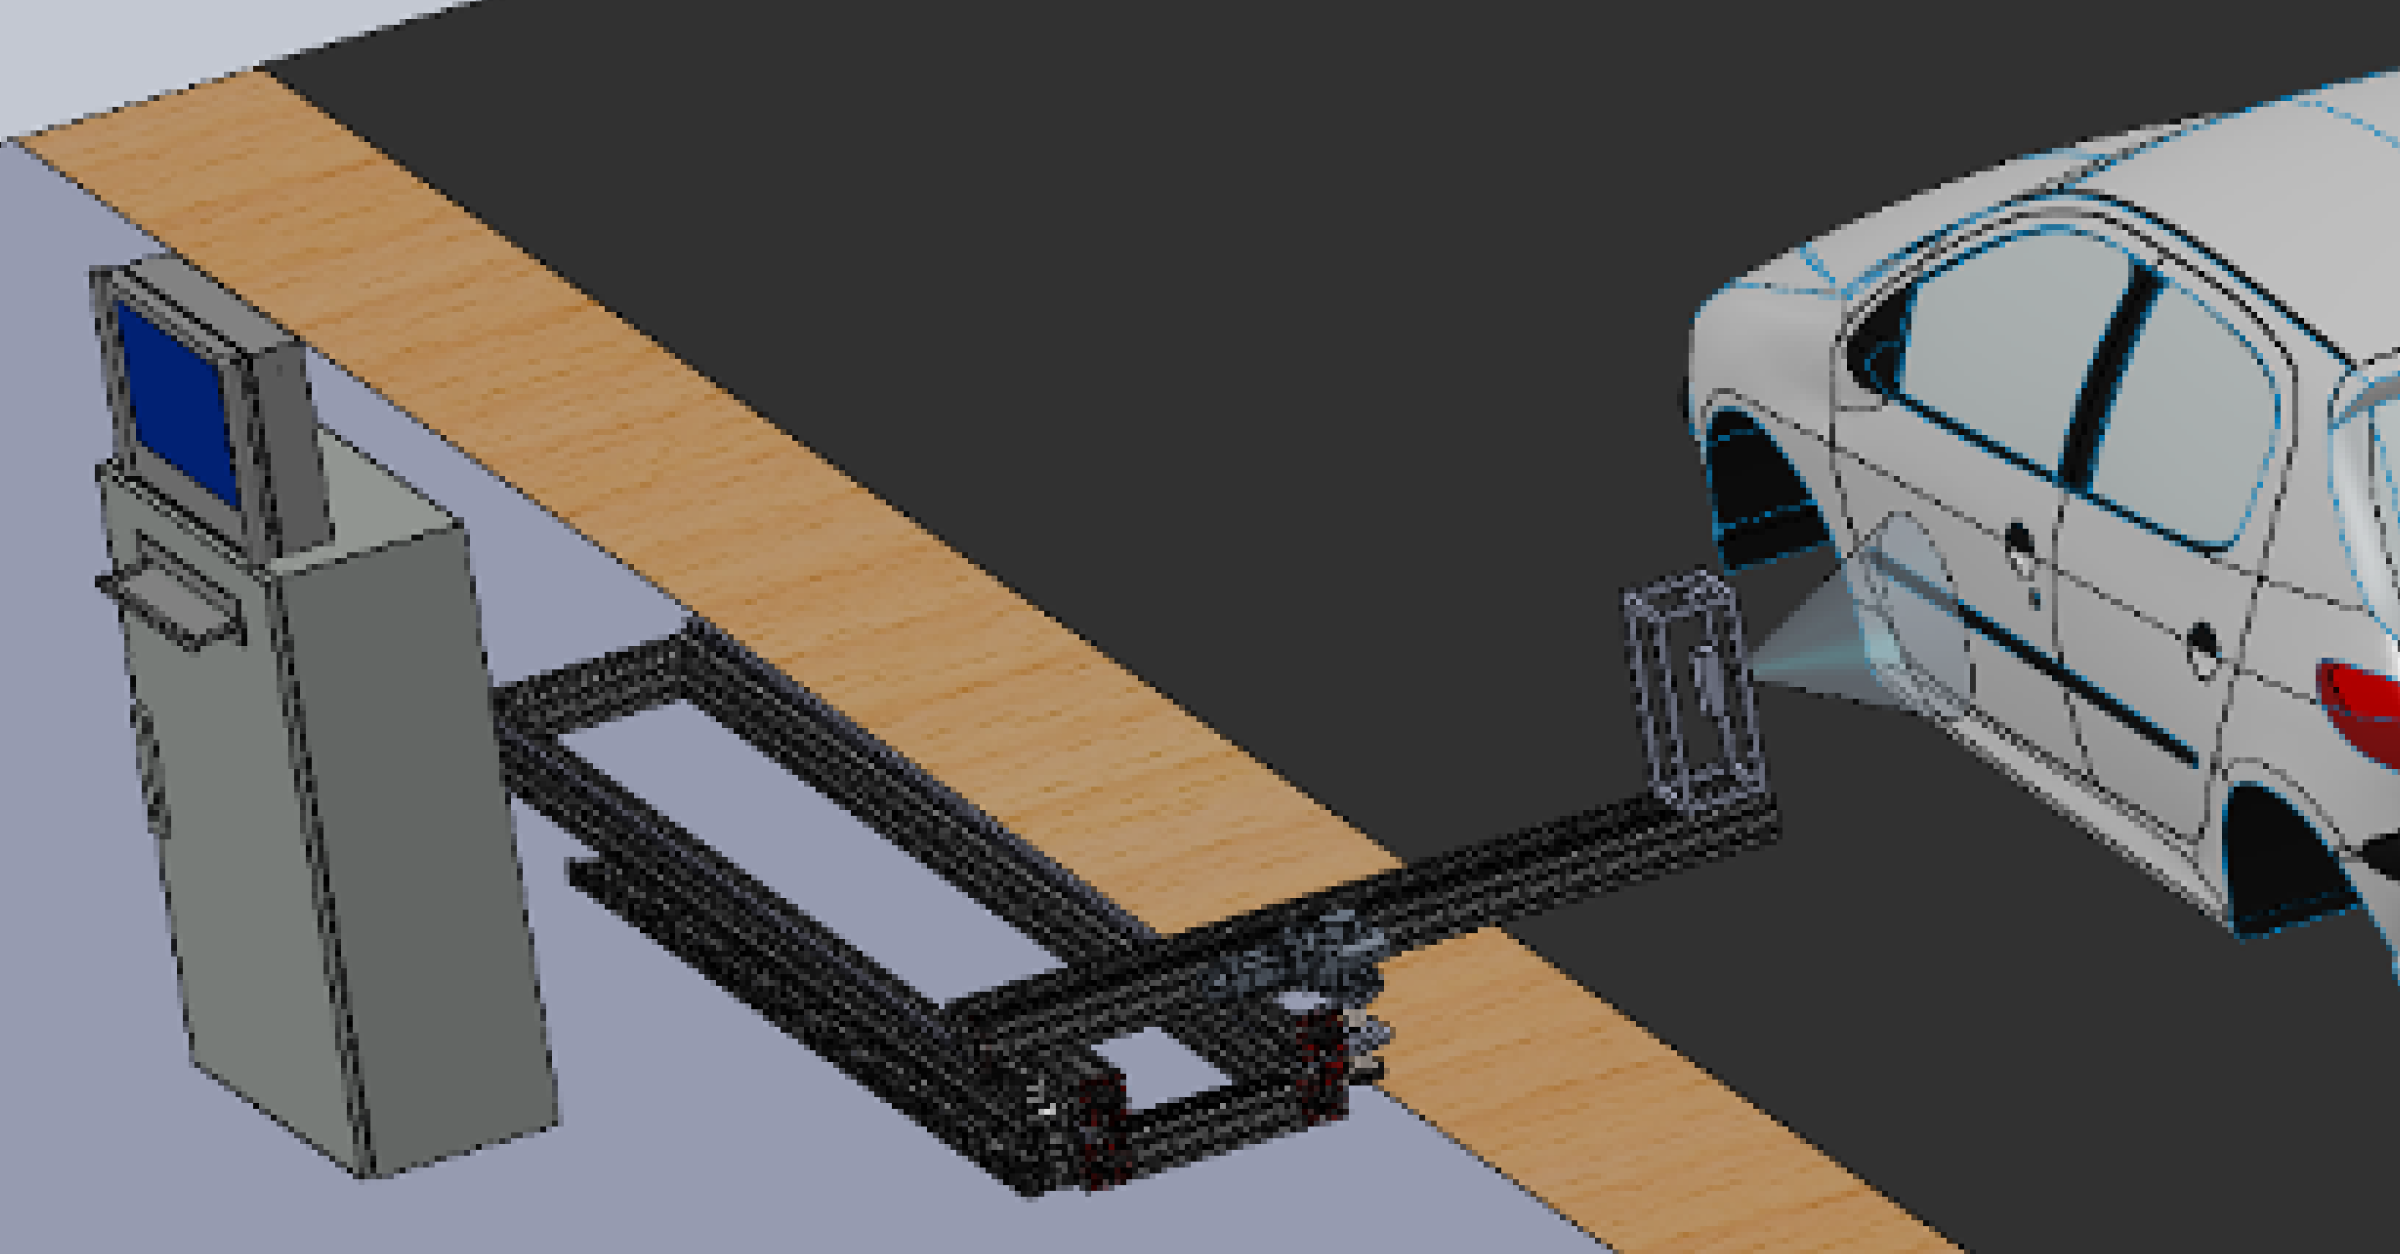
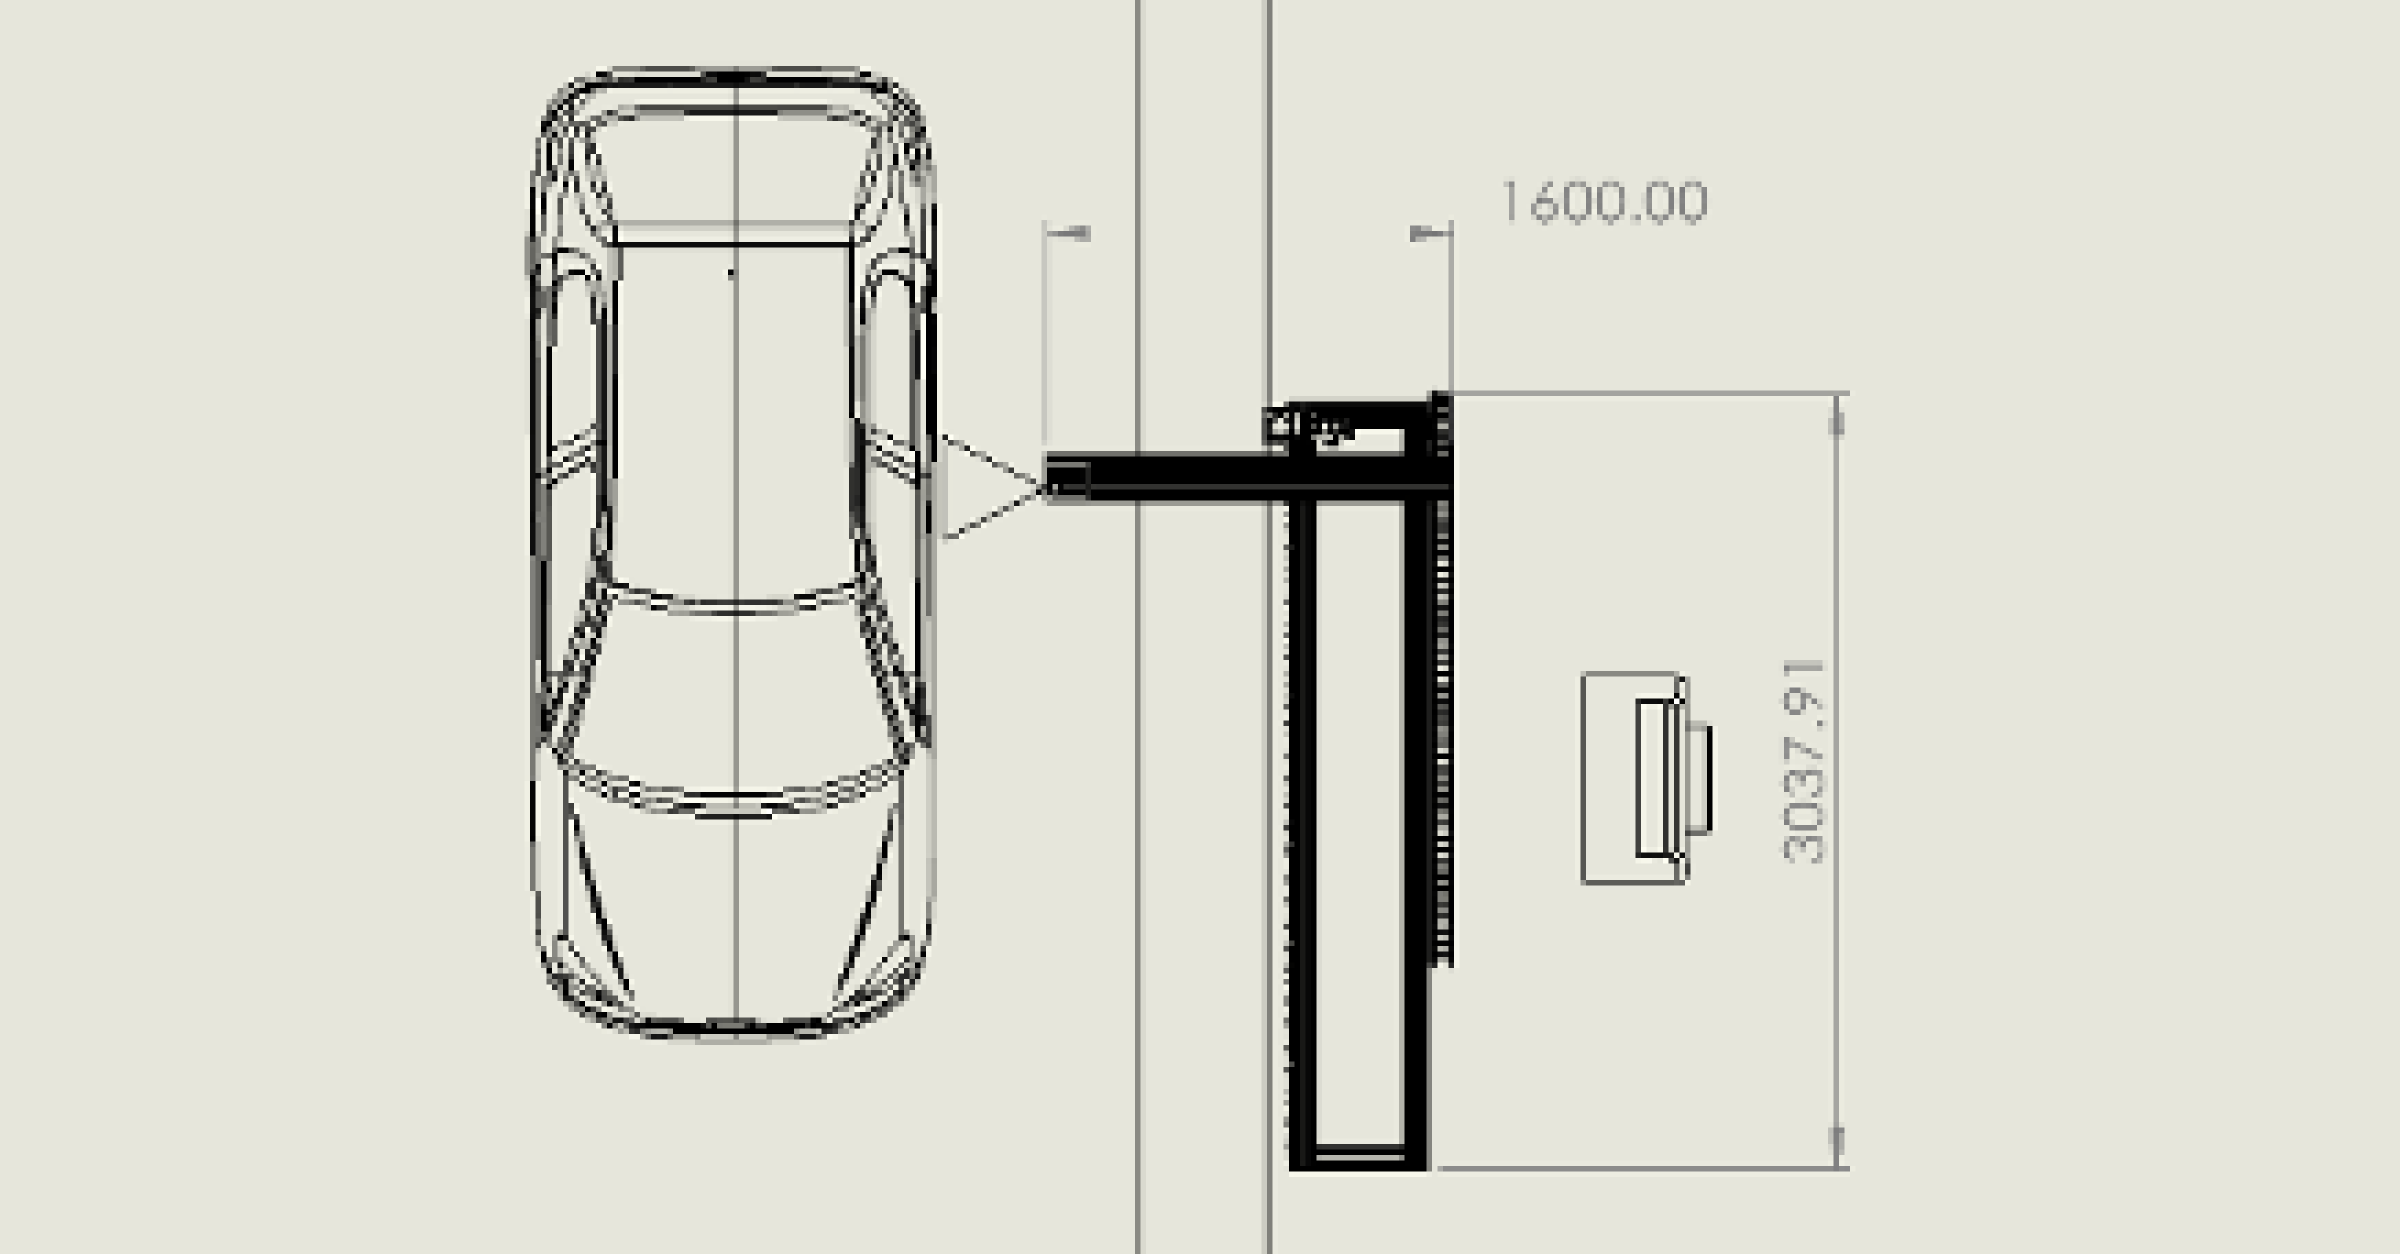
- Consisting of one sensor and a rail system assembled on one side of the conveyor belt, the prototype relies on pre-installed speed sensors to deliver real-time speed readings
- An automated arm extends towards the conveyor belt to measure the horizontal line on the car’s body while maintaining a distance of 30-50 cm from vehicle, thereby preventing damage to products
- The solution automatically identifies the front edge of the car and, with the speed information, calculates the measuring sequence, the results which are then displayed on a human-machine-interface
Results
The prototype successfully passed end-to-end tests and proved its feasibility. To check the accuracy of the proposed solution, we ran a repeatability test consisting of the 30 consecutive measurements of the same car using both our device and the ground truth device—a certified feeler gauge. The resulting accuracy of the proposed solution was within 0.2 mm of the standard.

Conclusion
Faced with costly delays due to imprecise and cumbersome manual gap and flush inspection techniques, the client required an automated G&F solution capable of adapting to distinct vehicle types traveling on the same conveyor belt. By deploying 3D scanners in tandem with a robotic arm mounted on a mobile arc, the prototype solution was able to produce accurate measurements of all vehicles while maintaining high speeds for the client. Powered by SoftServe’s SDK, the automated G&F hardware will improve quality inspection accuracy while potentially enabling the client to increase output at its assembly plants.
Reach out if you are interested in implementing SoftServe’s adaptable hardware and software expertise in your assembly line.

